


How to Install a U-Part Wig
If you don't want to wear a lace wig anymore, or if your forehead is allergic to the glue used for wigs, are there any other wigs that can help you look good?

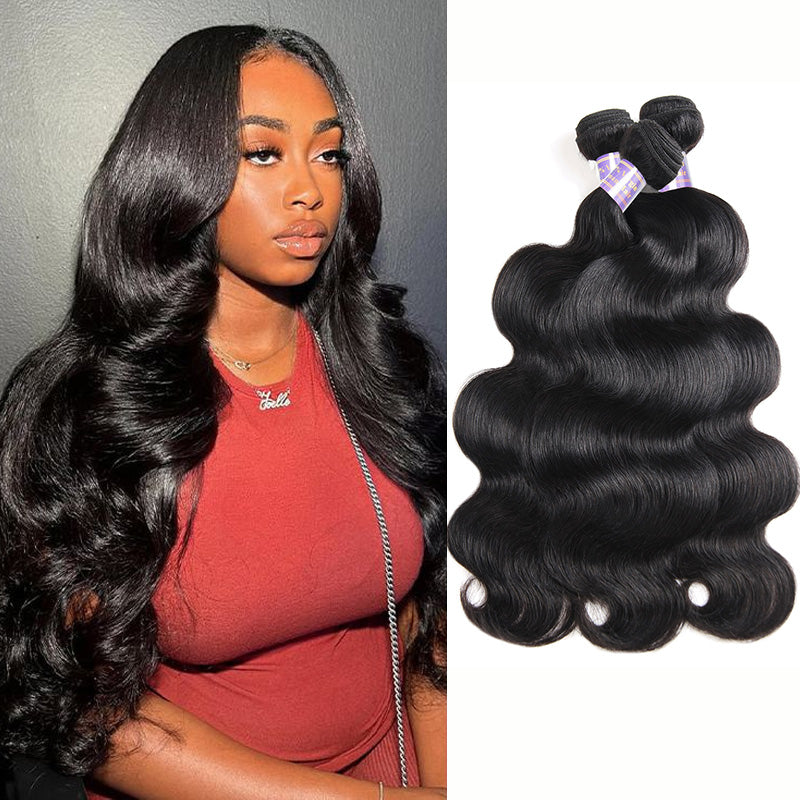
The U-Part wig is a special type of wig designed to seamlessly blend with your natural hair for the most realistic finish. It’s the perfect alternative to a full sew-in because the hair is installed (either sewn or glued) directly onto a wig cap, or clip on your braids. so it’s easy to install, and even easier to remove!

So you just got your first U-part wig. But you might be wondering how you can install your U-part wig? That only need 5 steps to wear.
Step 1
Start out with dry hair. Braid your hair into cornrows, making it as flat as possible. Leave a small portion of hair at the front to cover up the u-shaped opening at the top.
Step 2
Put on your wig and attach it into place with the adjustable straps and clips to get the best fit.
Step 3
Cover up the opening of the U-part wig with the section of hair you left out.
Step 4
Part your leave-out in the direction you desire, and flat iron each section down accordingly, making sure to cover the edge of the u-part opening of the wig.
Step 5
Lastly, flat iron your leave-out together with hair from the wig so that it blends smoothly & seamlessly.
With a U-Part wig, since you will be leaving out a portion of your natural hair, it’s important to select the right texture hair for the wig. For the most seamless blend, you will want to use hair that most closely matches your own hair texture.
More Details, Visit Allove Hair
Leave a comment